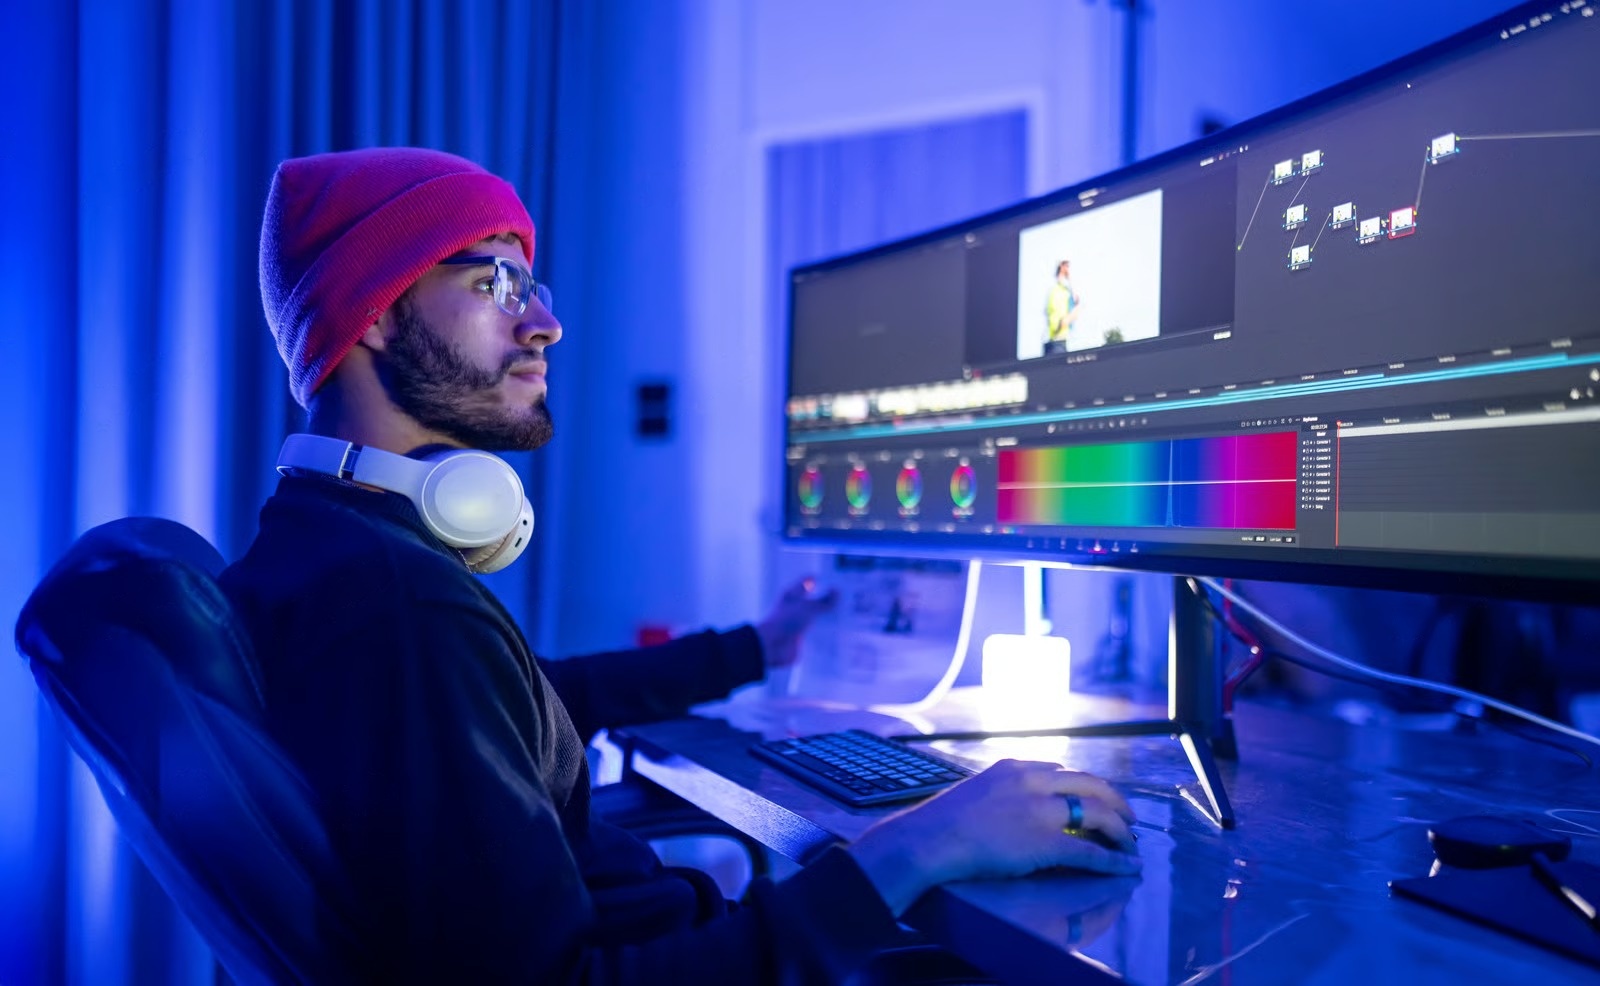
Color Correction and Grading in Video Editing: Comple
In the world of video editing, two powerful processes—color correction and color grading—can transform your raw footage into a professional, cinematic experience.
Whether you’re a beginner just starting out or an advanced editor looking to refine your skills, this blog from iMatMind will help you understand the art and science of color correction and grading.
🔹 Best Software for Color Correction & Grading
- DaVinci Resolve (Free + Paid) – Industry standard for color grading.
- Adobe Premiere Pro – Great all-in-one editing with Lumetri Color.
- Final Cut Pro – For Mac users with built-in color tools.
- After Effects – For color effects and VFX integration.

🔹 What is Color Correction?
Color correction is the first step in post-production that ensures all shots in your video have consistent and natural-looking colors.
✔ Goals of Color Correction:
- Fix exposure issues (too dark or too bright)
- Adjust white balance
- Match colors across clips
- Correct skin tones
- Maintain realism
🔧 Tools Used for Color Correction:
- Lumetri Color Panel (Adobe Premiere Pro)
- Color Wheels and Scopes (DaVinci Resolve)
- Final Cut Pro Color Board
🔹 What is Color Grading?
Color grading is the creative step where you style your video’s look and feel.
🎯 Goals of Color Grading:
- Create mood or emotion (warm, cool, dramatic, etc.)
- Apply stylized tones (cinematic teal & orange, desaturated look)
- Make your video stand out visually
🎬 Examples of Color Grading:
- A horror film may use cold, blue tones
- A romantic film may have warm, soft highlights
- A commercial may use punchy, vibrant colors
🔹 Beginner’s Workflow for Color Correction & Grading
Step 1: Shoot in Flat or LOG profile (if possible)
It gives you more room to edit colors later.
Step 2: Use Scopes for Correction
Fix exposure, white balance, contrast.
Step 3: Apply LUTs for Grading
LUTs (Look-Up Tables) are presets that give your video a stylized look.
Step 4: Refine with Masks & Power Windows
Add highlights or isolate skin tones for final polish.
🔹 Intermediate to Advanced Techniques
🎨 Use Color Wheels:
Adjust shadows, midtones, and highlights for finer control.
📊 Master RGB & Luma Curves:
Control contrast, add punch to your image.
🎭 Use Qualifiers & Secondary Corrections:
Isolate specific colors (e.g., only blue sky or red shirt) and adjust.
🧠 Understand Color Theory:
Complementary colors (e.g., blue & orange) make images pop.
🔹 Tips from iMatMind Experts
✅ Calibrate your monitor for true colors
✅ Use reference images for consistency
✅ Don’t overdo grading—subtlety is key
✅ Always color correct before color grading


